It’s a blessing and a curse to see the rows of fabric panels at your local quilt shop. First you think, wow that fabric panel would look gorgeous in a quilt and I don’t even have to piece that much! Then you buy and get it home and look at it sideways and think, “What now?” Here’s some tips on how to make the most out of those fabrics panels in your quilt.
Tip 1: Watch the difference between the printing and the grain of the fabric
It’s a fact that in the manufacturing process, the fabric on which the panels get printed can be slightly skewed, leading to a slightly off-grain print. This means you should never tear a fabric panel to even it up; tearing is making a small snip at one point in the selvage and then ripping with your hands to separate the pieces. Tearing will definitely cut into the design and draw out any skew in the printing.
Instead, square up your panel by aligning your ruler to the printed design and cut that way rather than strictly with the grain or selvage. Once you have your panel trimmed as desired, use a spray bottle with your favorite starch or sizing and lightly spray the panel, and then square it up by gently tugging the corners to line them up to create perfectly square corners. Press well; the starch or sizing will help the panel keep it’s shape during the piecing process.
Tip 2: Borders are your friends
The simplest way to turn the fabric panel into a quilt top is to just add borders, and keep adding borders until it’s the size you want. Proportionally you want to keep your borders to about three-quarters of the width of your panel to keep the visual design balanced. That means for a panel that’s 20″ wide, you don’t want more than 15″ borders on it, but much of that depends on your border design. Adding pieced elements to the borders like square in a square designs or piano keys can break up the border expanse and help you get away with more to get an even bigger quilt.
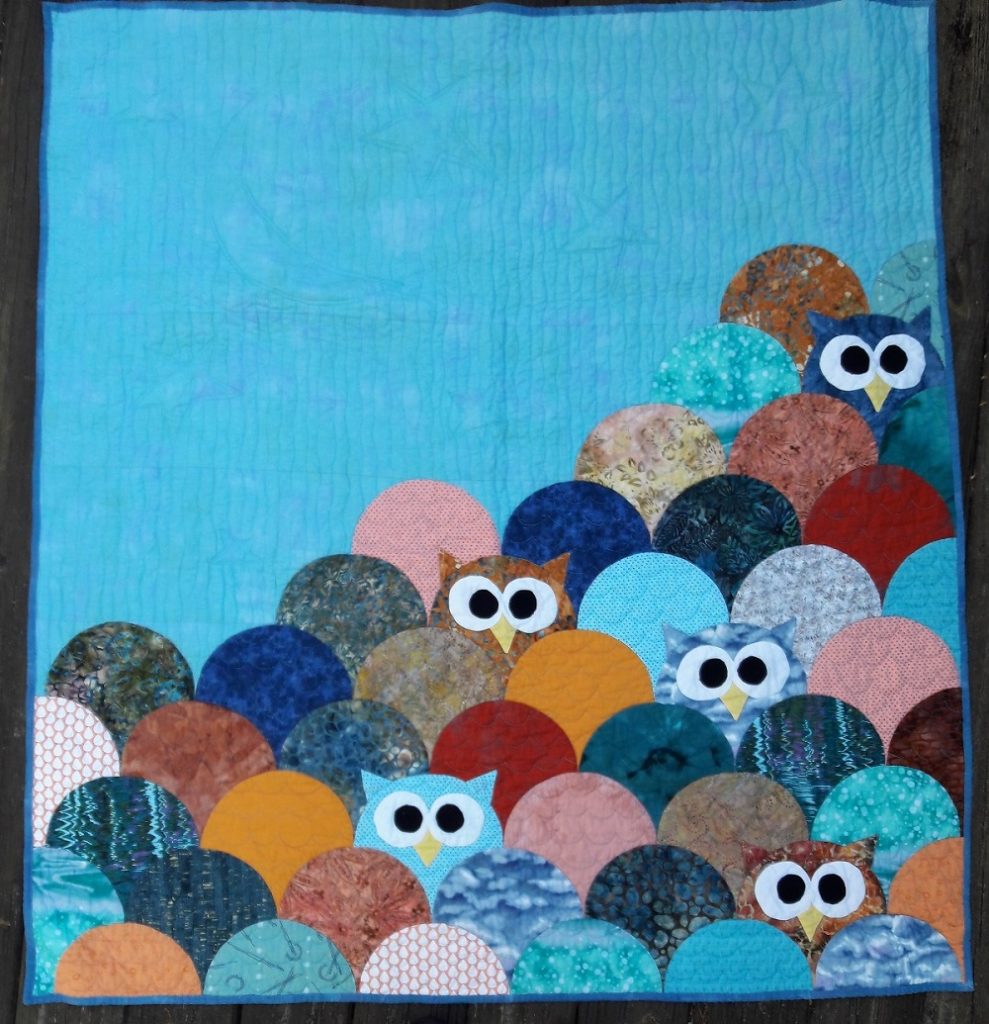
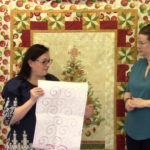
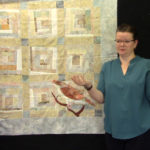
Putting a panel in the center of our quilt pattern for The Nope! Quilt was a fun twist that I did for a family gift last Christmas. To get the panel to the right size for the center design, I added some coping strips (aka – strips of fabric to the side) to make the center the right width.
![]()
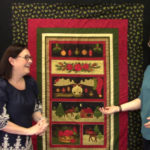
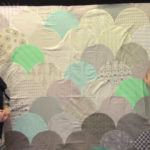
Tip 3: Don’t be afraid to cut it up!
I’ve made several quilts from panels that lend themselves to being cut up. My husband’s Grinch quilt is one where I cut up the panel and added a border to each piece to bring each one up to the same size block, which I then sashed in a traditional way.
![Merry Grinchmas!]()
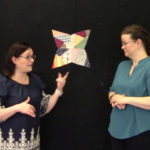
I have a Flickr album called Panel Play that I’ve posted a number of projects in that have cut up panels and sewn the back together. Take a look for some inspiration!
![Panel Play]()
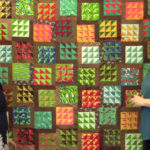
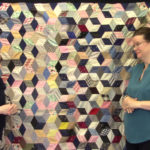
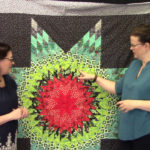
Tip 4: Buy 7 of the same panel
Sure, if you don’t know what to do with one panel, buying 6 more may sound crazy. But if you really love it, go all in and try a One Block Wonder quilt! Here’s a panel I started with:
![One block wonder- starting panel]()
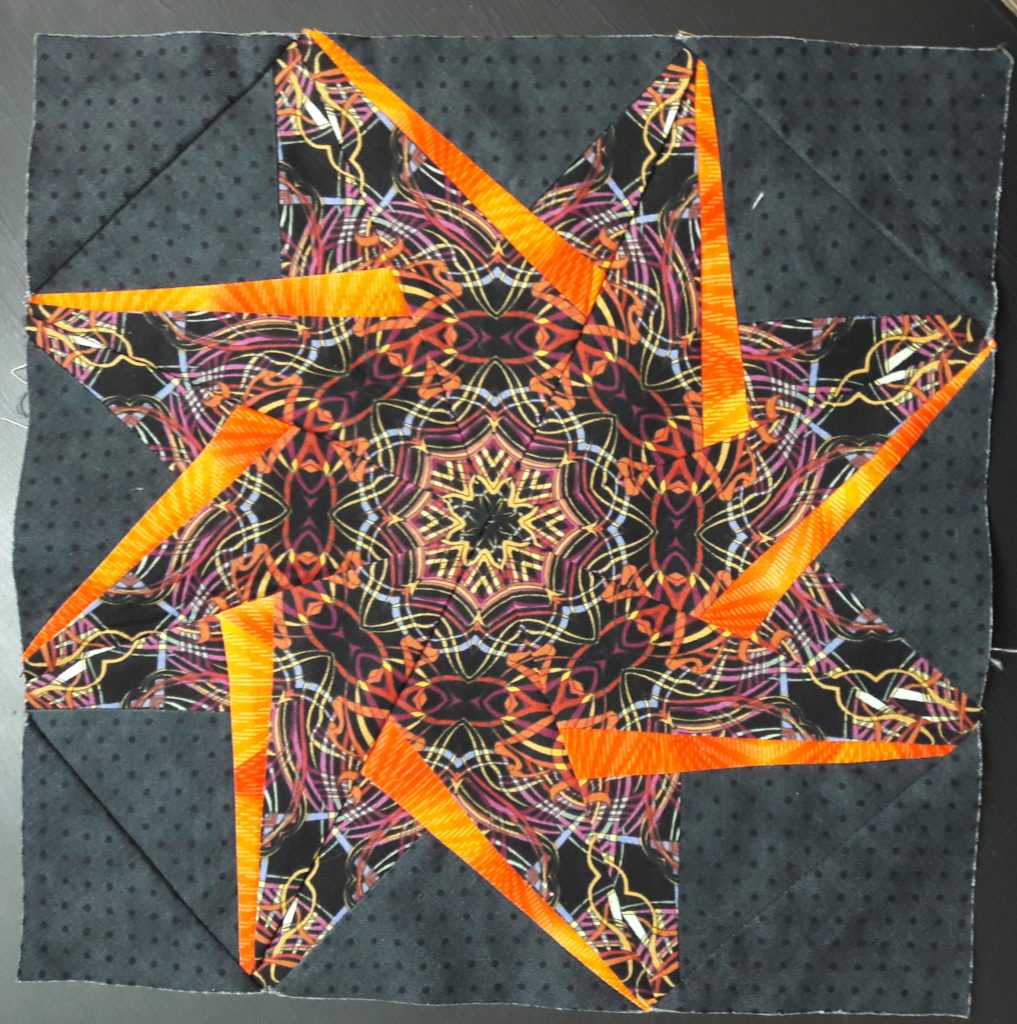
And here’s what the One Block Wonder quilt looks like after you stack and cut up 6 of the panels into triangles to create kaleidoscope blocks. You keep the 7th panel intact and piece it into the back so you can remember how it started. This quilt came out to be twin sized with a 8″ border added.
![One Block Wonder(ful)]() Check out the book for directions or ask your local quilt shop when they are teaching a class!
Check out the book for directions or ask your local quilt shop when they are teaching a class!
Hope this has helped you figure out what to do with your linger fabric panels. We also talked about working with fabric panels in quilts back in episode 105 of The Stitch TV Show!